Getting Started
Image captioning - the process of generating textual descriptions from images - is the first building block in our semantic image search journey. While this task combines complex computer vision and natural language processing, we can make it surprisingly accessible.
In this tutorial, we’ll use Livebook, an interactive Elixir-based tool similar to Jupyter Notebooks but with a focus on simplicity. If you’re familiar with Jupyter, you’ll feel right at home. If not, don’t worry – Livebook’s intuitive interface makes it perfect for beginners.
The best part? We’ll generate image captions right on our own machines, without writing any code or relying on external services. No fancy GPU required – your regular computer will do just fine.
Prerequisites
Before we dive in, you’ll need to install two key components: Elixir and Livebook.
Elixir
Elixir is compatible with all major operating systems. For installation instructions specific to your OS, visit the official Elixir website. While there are several installation methods available, I recommend using the asdf version manager for its flexibility. For this tutorial, I’ll be using Elixir 1.17.2.
Note: If you plan to run Livebook in a Docker container, you can skip this step.
Livebook
Livebook offers multiple installation options. You can find detailed instructions on the Livebook GitHub repository. In my experience, both the direct installation and Docker methods are straightforward.
Captioning Our First Image
With Elixir and Livebook installed, let’s jump into image captioning!
Step 1: Launch Livebook
Start by firing up a new Livebook server. If you’ve done a direct installation, use this command:
livebook server
You should see a message like this:
[Livebook] Application running at http://localhost:8080/?token=aypg2sijd5fpgv7sjl7zobuui4ijdaje
Open the provided URL in your browser to access Livebook.
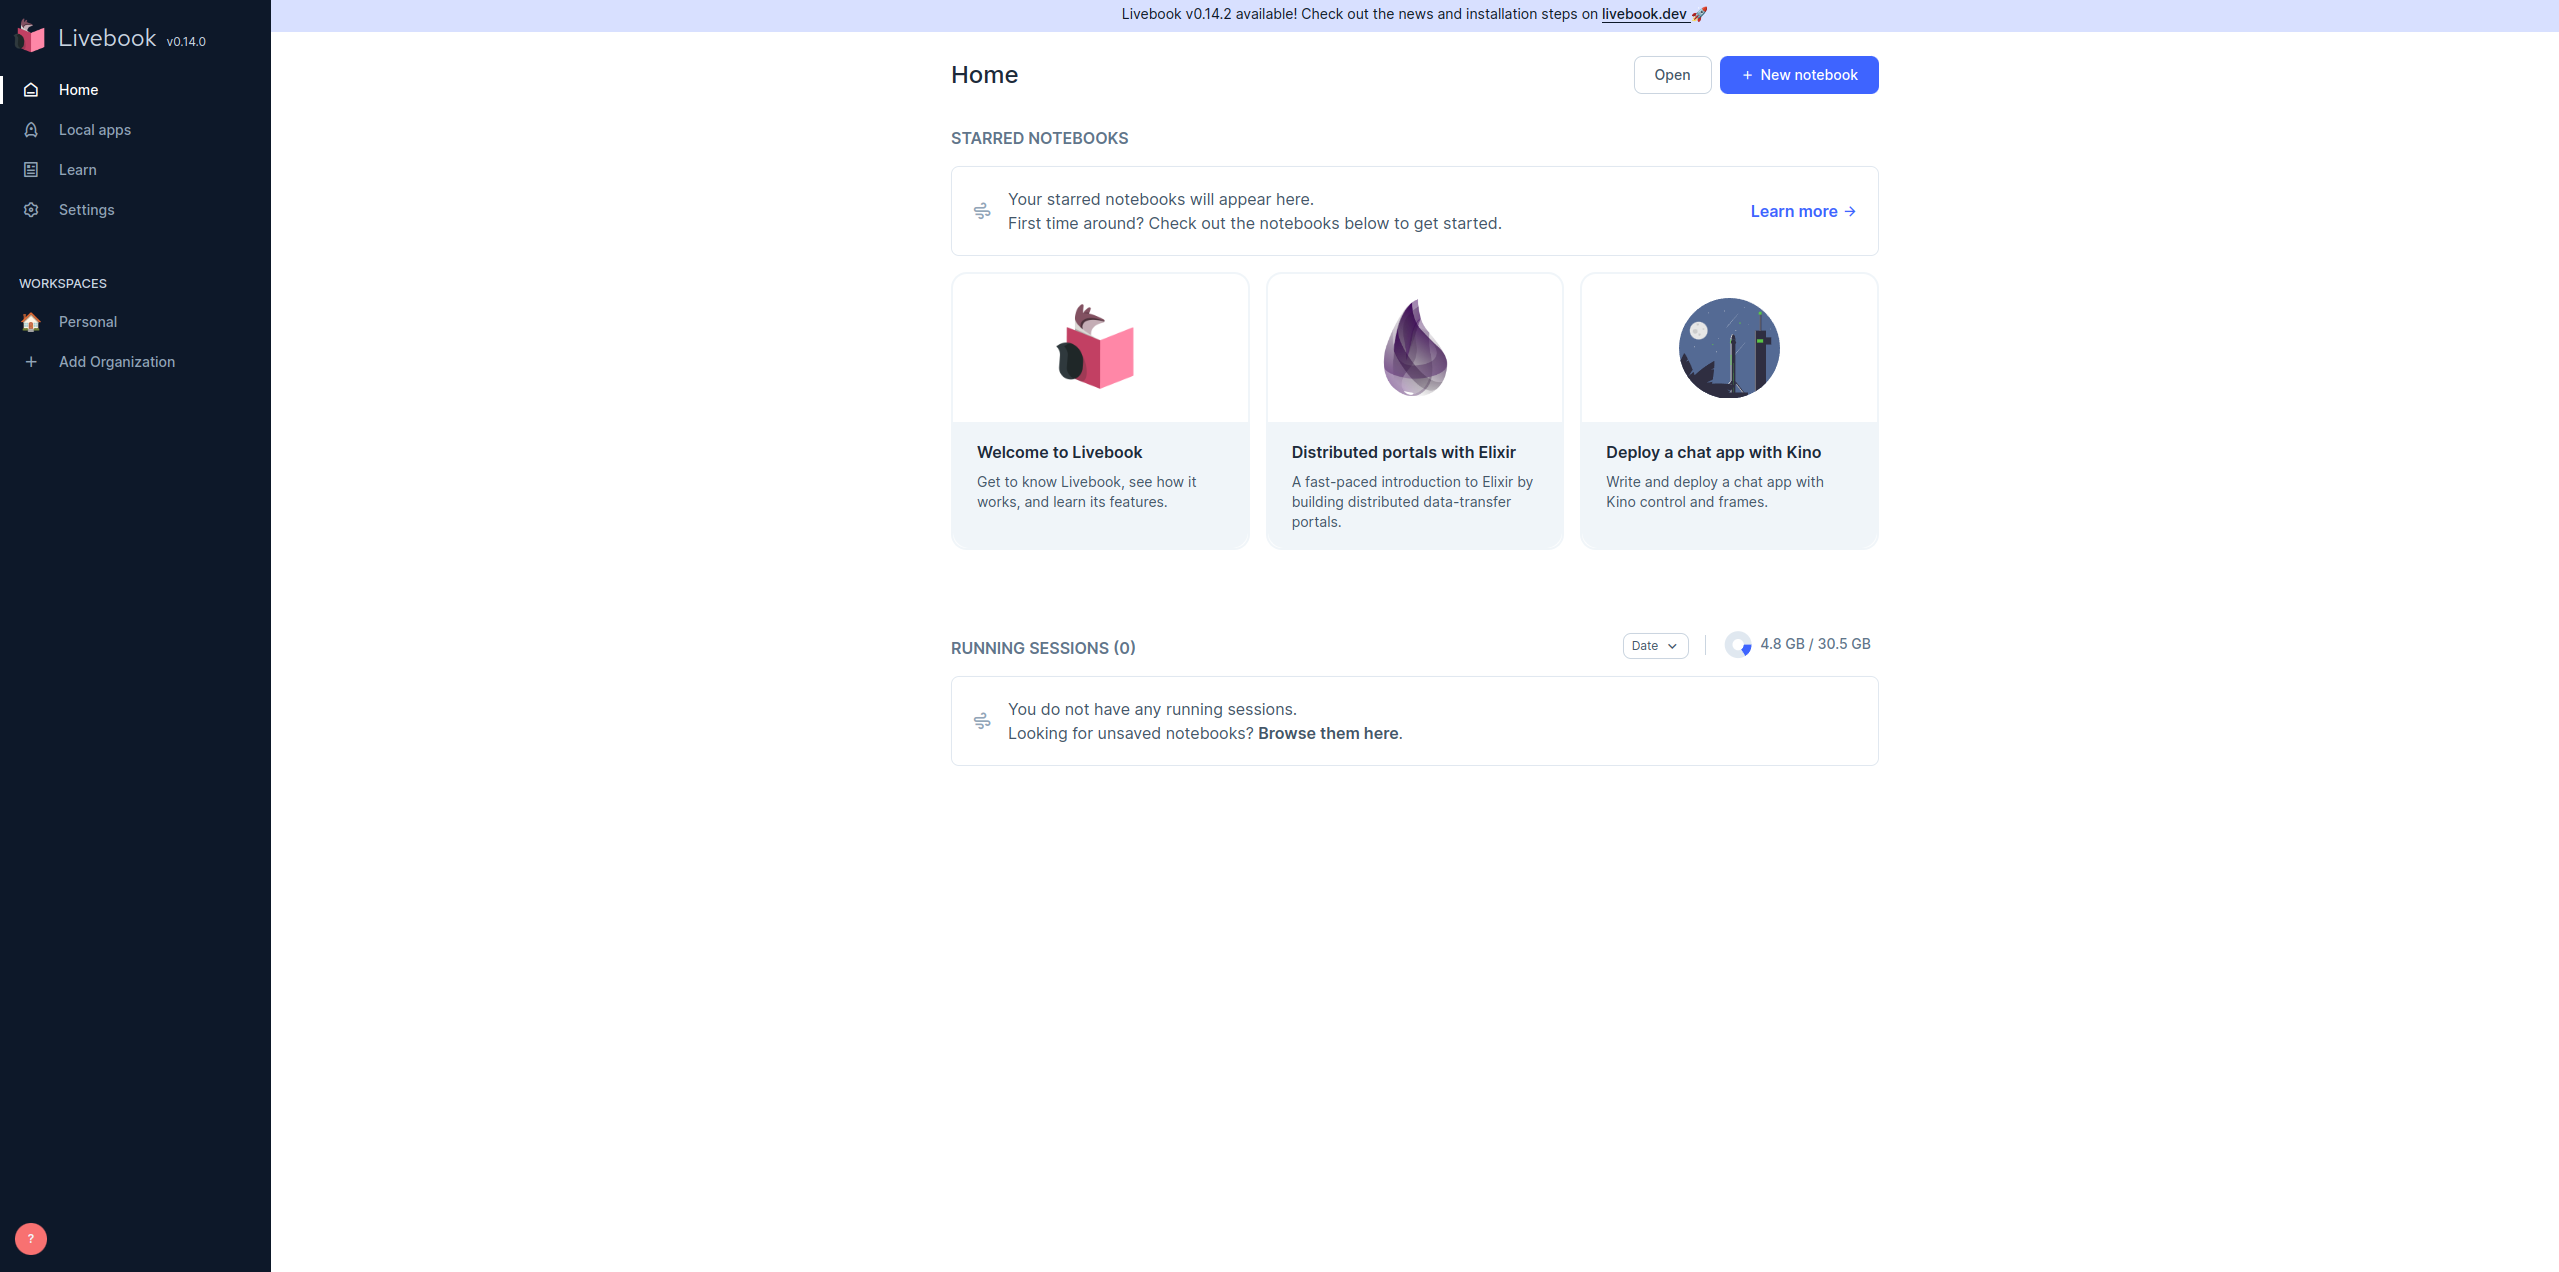
Livebook Homepage
Step 2: Create Your Notebook
On the Livebook interface, click “New Notebook”. Give your notebook a meaningful name – I’m calling mine “Image Captioning”. Then, name the first section; I’ve chosen “Demo”. Don’t worry about dependencies or packages for now – we’ll tackle those later.
Step 3: Set Up the Neural Network Task Smart Cell
While Livebook typically uses code or markdown cells, it also offers smart cells for high-level tasks without coding. We’ll use one of these for our image captioning.
To add a smart cell:
- Hover your mouse after any existing cell
- Click the “+ Smart” button
- From the list that appears, choose “Neural Network task”
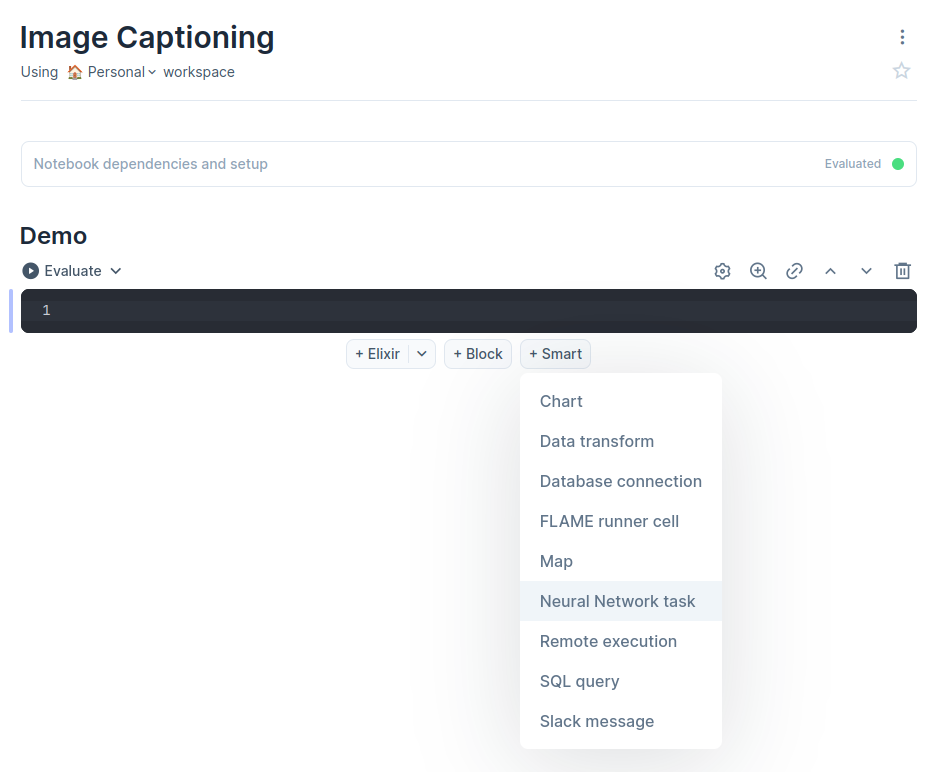
Adding the Neural Network task smart cell
Livebook will prompt you to add necessary packages. Click “+ Add and restart”. The installation may take a moment, but once it’s done, your smart cell will be ready to use.
Pro tip: You can delete any empty code cells at this point – we won’t need them for this tutorial.
Step 4: Choose Your Model
Now, let’s configure our smart cell:
- In the “Task” dropdown, select “Image-to-Text”. This narrows our options to models designed for image captioning.
- For the “Using” dropdown, choose either “BLIP (base)” or “BLIP (large)”. Both are pre-trained models, but they have different characteristics:
- BLIP (base): Smaller and faster, ideal if you’re concerned about speed or storage.
- BLIP (large): Larger and more accurate, generally produces better results.
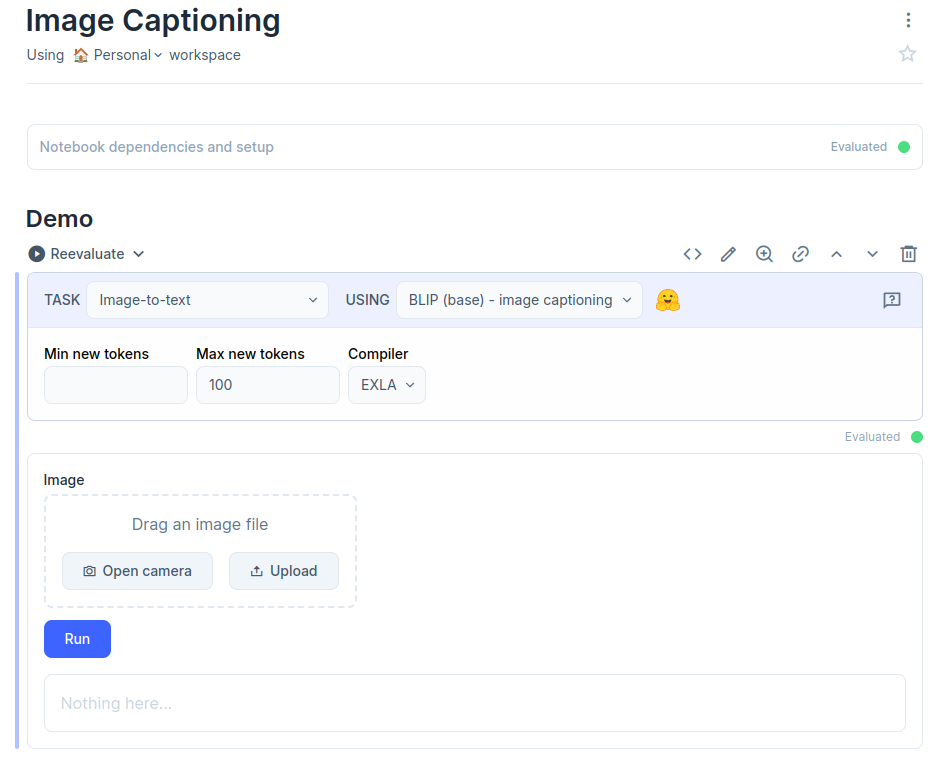
Smart cell added and loaded
- Click the “Evaluate” (or “Reevaluate”) button above the smart cell. This initiates the model download and loading process. You’ll see a progress bar – be patient, as these models are sizeable.
Once complete, your smart cell will display an area for image uploads.
Step 5: Generate Your First Caption
Now for the exciting part! You have two options to add an image:
- Drag and drop an image directly into the smart cell
- Click the “Upload” button to select an image from your computer
After adding your image, click “Run”. The model will process your image and generate a caption.
The generated caption using the base BLIP model. The generated caption using the large BLIP model. Contains more details than the base model. ‘arafed’ seems to be an artifact often included in the BLIP model, but doesn’t mean much here.

Wrapping Up
Congratulations! You’ve just harnessed the power of AI to caption images using nothing but Livebook and your local machine. While this no-code approach is perfect for getting started, it’s just the beginning of what’s possible. Feel free to explore other models available in the Neural Network smart cell. Next time, we’ll do the same thing, but this time we’ll write our own Elixir code to do it.