
In my previous post, I discussed how the Game Boy uses 2 bits to represent one pixel. Today, I want to dive deeper into Game Boy graphics and explore tiles.
What is a tile?
In video games, a tile is a small graphic that forms the building blocks of larger images. Tiles are arranged within a grid to craft more intricate scenes on the screen.
The Game Boy utilizes tiles that are 8 pixels by 8 pixels in size (8x8). This dimension is not unique to the Game Boy; in fact, many retro gaming systems also adopted 8x8 tiles.
Tiles are commonly used in retro game consoles because they help conserve memory and can be manipulated efficiently by the system’s limited processing capabilities. However, it is still common to see tiles being used in modern 2D games.
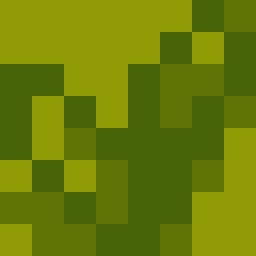
The grass tile from Pokémon Red.
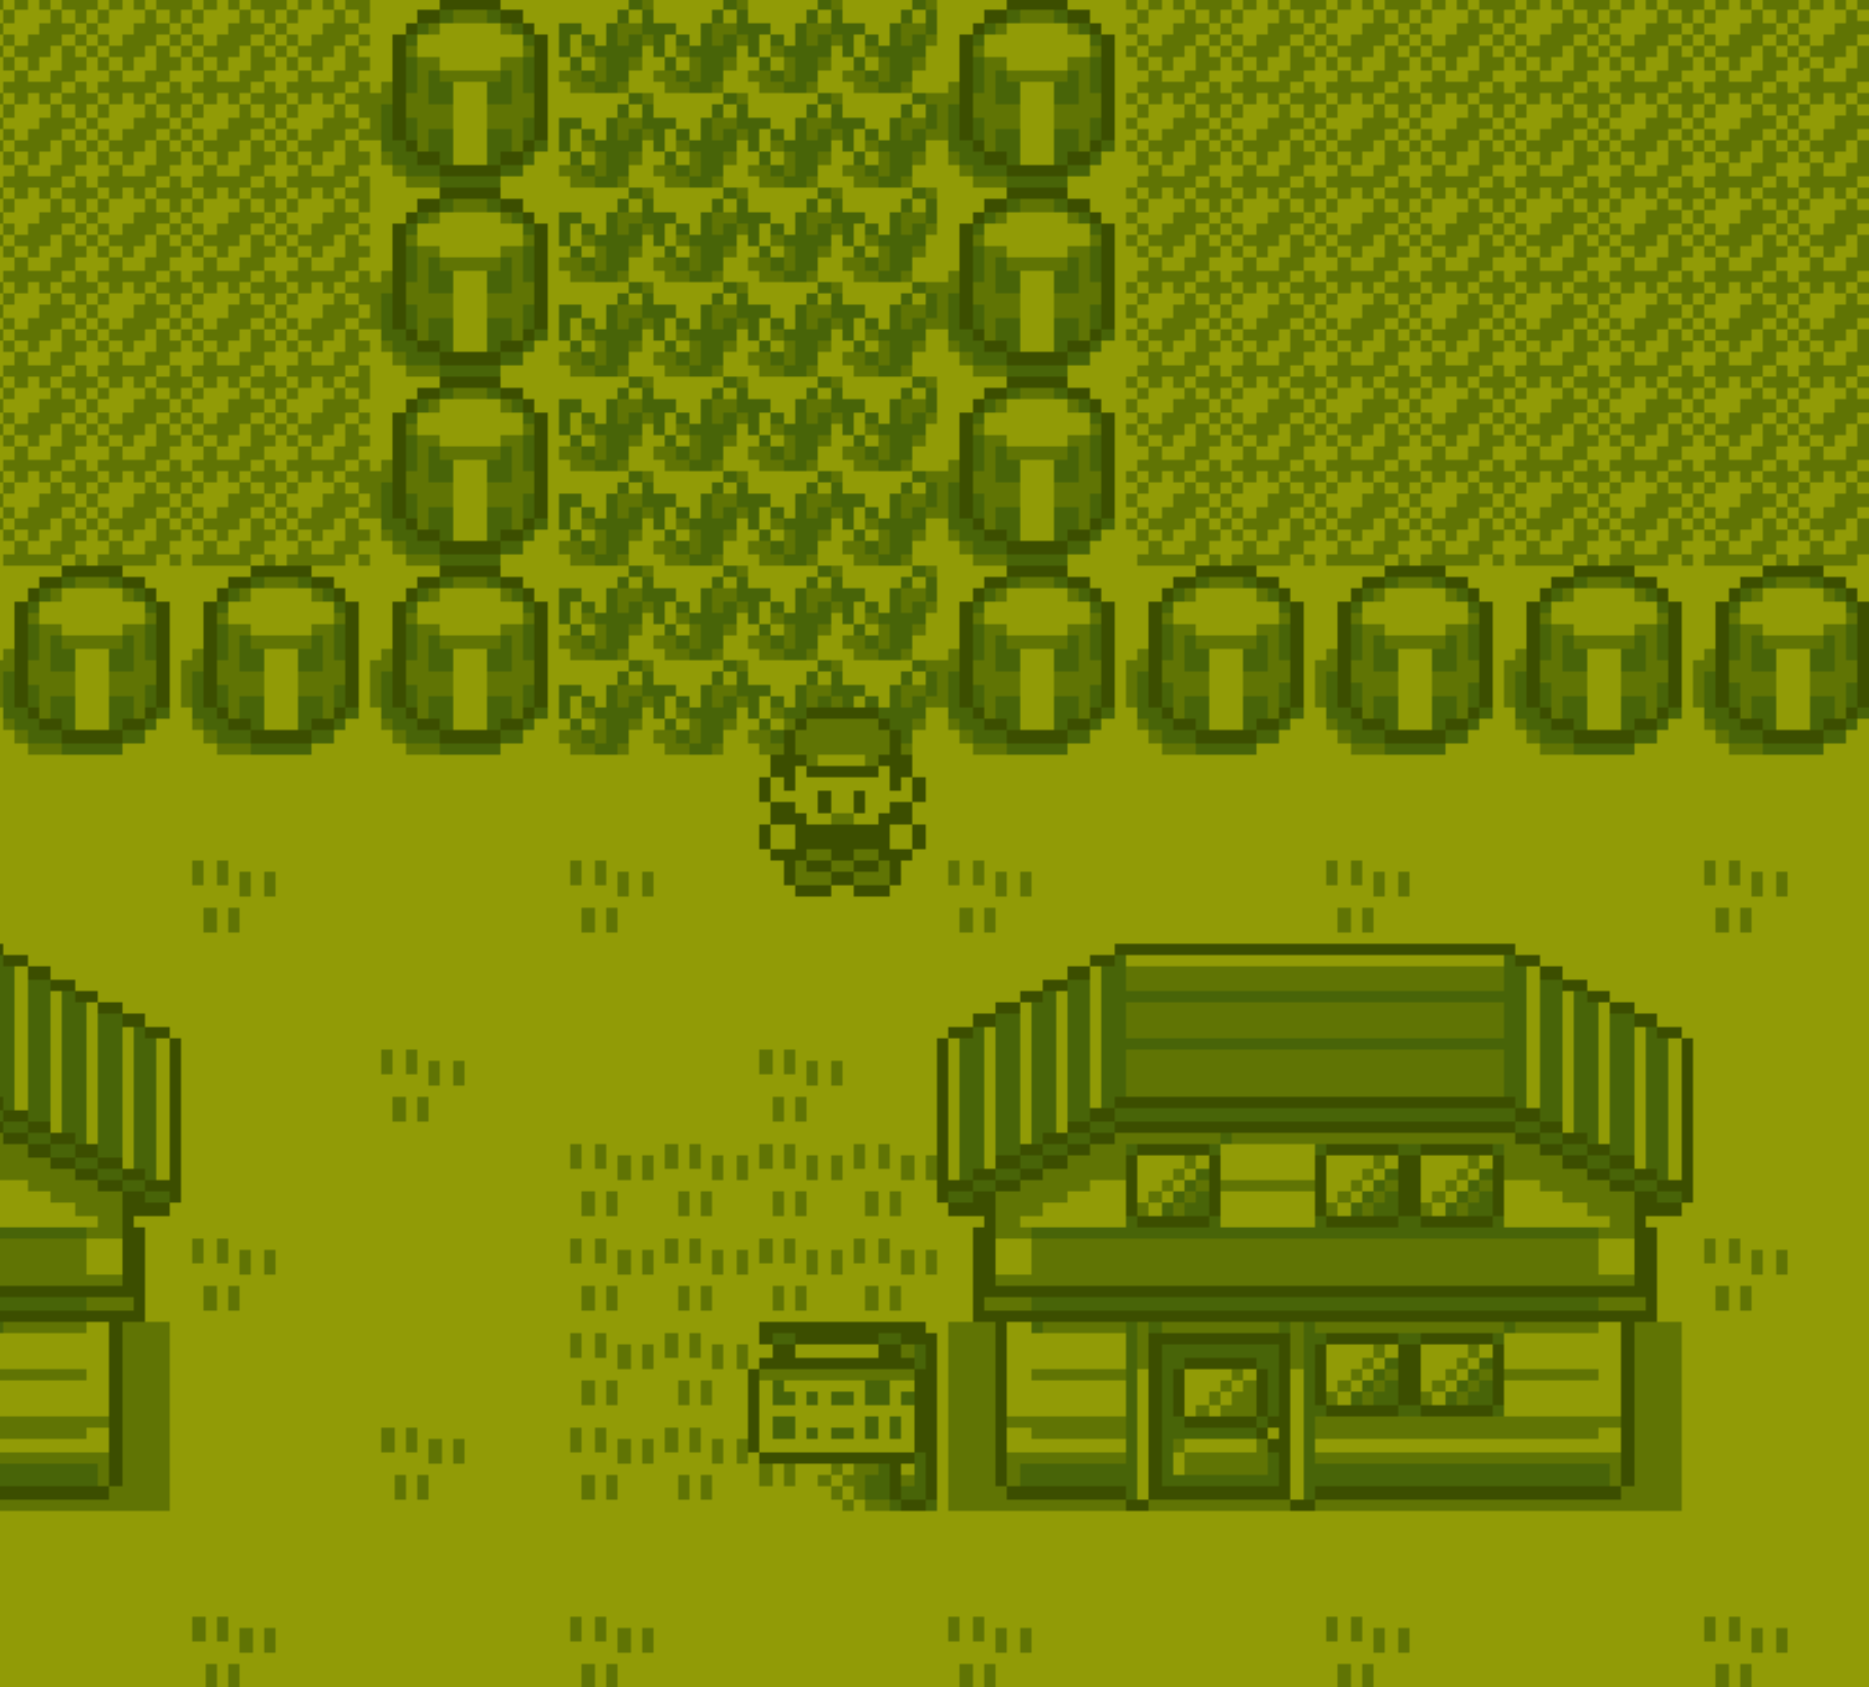
A screenshot from Pokémon Red. The grass tiles can be seeing being used toward the top of the frame.
Tools
There are lots of tools out there that assist in Game Boy graphics development. I’m sure many of them are excellent, but I was looking for the simplest tool I could find. This led me to discover Gameboy Tile Designer (GBTD).
GBTD is an older, yet straightforward tool that enables you to easily create single 8x8 Game Boy tiles. I was particularly impressed by how quickly I could get up and running and start creating my first tile. I highly recommend it if you are just getting started with Game Boy development, as I am.
Creating My First Tile
Creating my first Game Boy tile was easy:
1. Download GBTD
A .zip containing GBTD can be downloaded from www.devrs.com/gb/hmgd/gbtd.html.
2. Unzip and Launch the Application
Using built-in Windows tools, I was able to extract the contents of the zip file. I then found GBTD.EXE and launched it. Unfortunately, this zip only contains a .exe, so Linux and Mac users may need to find a different tool or use Windows emulation software.
3. Use GBTD to Draw a Tile
Using the incredibly simple interface of GBTD, I was able to draw a simple Game Boy tile using the 4 available colors.
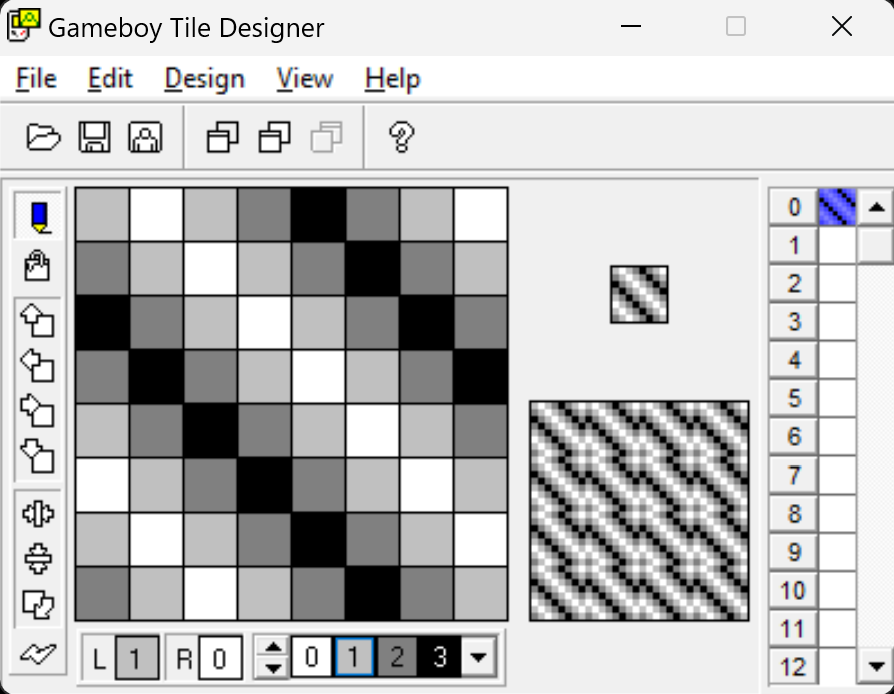
Using GBTD to draw my first tile
4. Export
Exporting was just as easy. Going to File > Export to... pulls up a menu that allows you to customize how GBTD will export your tile. I stuck with the defaults, which generated this file:
; EXPORT.Z80
;
; Tile Source File.
;
; Info:
;   Section              : Tiles
;   Bank                 : 0
;   Form                 : All tiles as one unit.
;   Format               : Gameboy 4 color.
;   Compression          : None.
;   Counter              : None.
;   Tile size            : 8 x 8
;   Tiles                : 0 to 0
;
;   Palette colors       : None.
;   SGB Palette          : None.
;   CGB Palette          : None.
;
;   Convert to metatiles : No.
;
; This file was generated by GBTD v2.2

 SECTION "Tiles", HOME

; Start of tile array.
TileLabel::
DB $AA,$1C,$55,$8E,$AA,$C7,$55,$E3
DB $AA,$71,$55,$38,$AA,$1C,$55,$8E

; End of EXPORT.Z80
Wrapping Up
Getting a data representation of what I drew was really cool; however, how do I actually read this data? It took me a little bit to understand how the data above relates back to 2 bits per pixel, but the process is actually quite interesting. I can’t wait to share that with you all next time.