This is the second part of reverse engineering a tilemap from Pokémon Red/Blue. Check out the first part if you haven’t already!

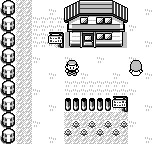
Reminder: Here’s what I’m trying to recreate (minus the sprites).
Step 3b: Convert a PNG to Binary on Compile
I used rgbgfx to convert the PNG to a binary file in the last post. However, I want to automate this process so I don’t have to run the command every time I make a change to the tileset. To do this, I just need to add a few lines to my Makefile:
background.2bpp: background.png
	rgbgfx -o background.2bpp background.png
This tells make that background.2bpp depends on background.png. If background.png is newer than background.2bpp, make will run the rgbgfx command to update background.2bpp.
Step 4: Program the Tilemap
Now that I have a tileset and have loaded all the tiles I need into VRAM, I can start working on the tilemap. I can reuse the code from my first tilemap project to load data to the correct place in VRAM. I just need to update the tile indices to match the tiles I loaded.

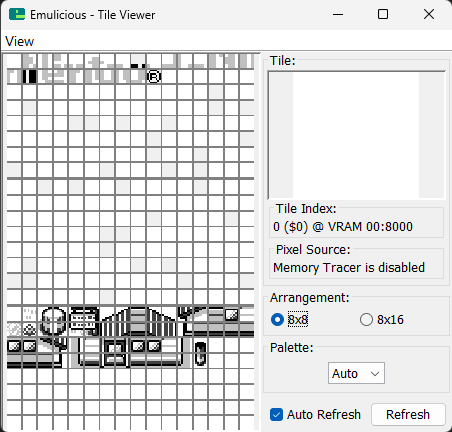
Note the ‘Tile Index’ section in the Emulicious Tile Viewer. That was super handy.
To match the tiles, I loaded up Emulicious and used the Tile Viewer to find the tile indices. I then updated the tilemap data in tilemap.asm until it matched the tilemap I was trying to reverse engineer. Emulicious has a feature to reload the ROM when it changes, so I could see the changes in near real-time after running make.

The tilemap as seen when partway finished.
Step 5: “Play the Game”
Okay, time to see this in action. I have an EverDrive, so I can load the ROM onto an SD card and pop it into my Game Boy.
Would you look at that? It looks like Pallet Town!

It’s alive! Seeing this actually run on a Game Boy was so cool.
Wrapping Up
That was a fun exercise. I learned a lot about how to construct a tilemap without having to create art myself. I’m leaving a link to the source code below if you want to check it out. Stay tuned for more Game Boy content soon!
Source Code
You can find the source code for this project on GitHub: https://github.com/bradyaanderson/gb-examples/tree/main/graphics/tilemap-re-part-1
