I concluded my last post by saying I should create a more intricate tilemap. However, I didn’t consider that I am not skilled in art at all! I was really regretting that statement until I realized I could do something more fun: reverse engineer an existing tilemap! So, today I’ll be reverse engineering a tilemap from Pokémon Red/Blue.
The Ground Rules
I’m still learning, so this isn’t going to be perfect, but I want to get as close as possible to recreating what I would see in the game without doing anything too complicated yet. So, here are some of the rules I’m setting for myself:
- I’m only going to reverse engineer what’s visible on the screen in one very specific location of Pallet Town.
- Anything that moves will be ignored. This includes the player character, NPCs, and any animations.
- No looking at source code or disassemblies of the game. These would make it too easy!
- I won’t beat myself up if I don’t do everything perfectly. This is a learning experience, after all!
The Reverse Engineering Process
I’m not a professional when it comes to reverse engineering, so to be totally honest, I’m just making this up as I go along, but here’s my plan:
- Take a Screenshot: I’ll use an emulator to take a screenshot of the area I want to reverse engineer. This will be my reference for the rest of the process.
- Create a Tileset: I’ll use the screenshot to create a tileset that I can use to recreate the tilemap.
- Setup the Game: I’ll write/reuse code from my previous projects to display a tilemap and load the tiles.
- Program the Tilemap: At this point, I should have everything needed for a working game; it just won’t be very exciting yet. I’ll program a tilemap and use an emulator to see what I’m working on in near real-time.
- “Play the Game”: I know I’ll be tempted to see what I created on real hardware, so I’ll fire up the ROM on an actual Game Boy and see how it looks!
Step 1: Take a Screenshot
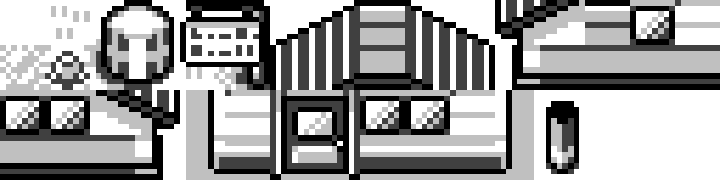
This is probably the easiest step. I just loaded up Pokémon Red in Emulicious and took a screenshot of the area I wanted to reverse engineer. To make things super simple, I made sure the resolution was set to 1x so I could easily count pixels later:
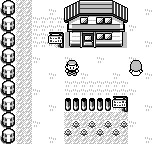
The screenshot of the area of Pallet Town that I’ll be reverse engineering. (160px by 144px)
Step 2: Create a Tileset
As a reminder, tiles on the Game Boy are 8x8 pixels in size. That means I need to take this screenshot and find every unique 8x8 tile in it. I’ll be creating a tileset, which is just a fancy name for an image that can be broken up into tiles.
I’m currently handcuffed to an Adobe subscription, so I’ll be using Photoshop for this, but most image processors should work. I found the grid feature in Photoshop extremely helpful for this task.
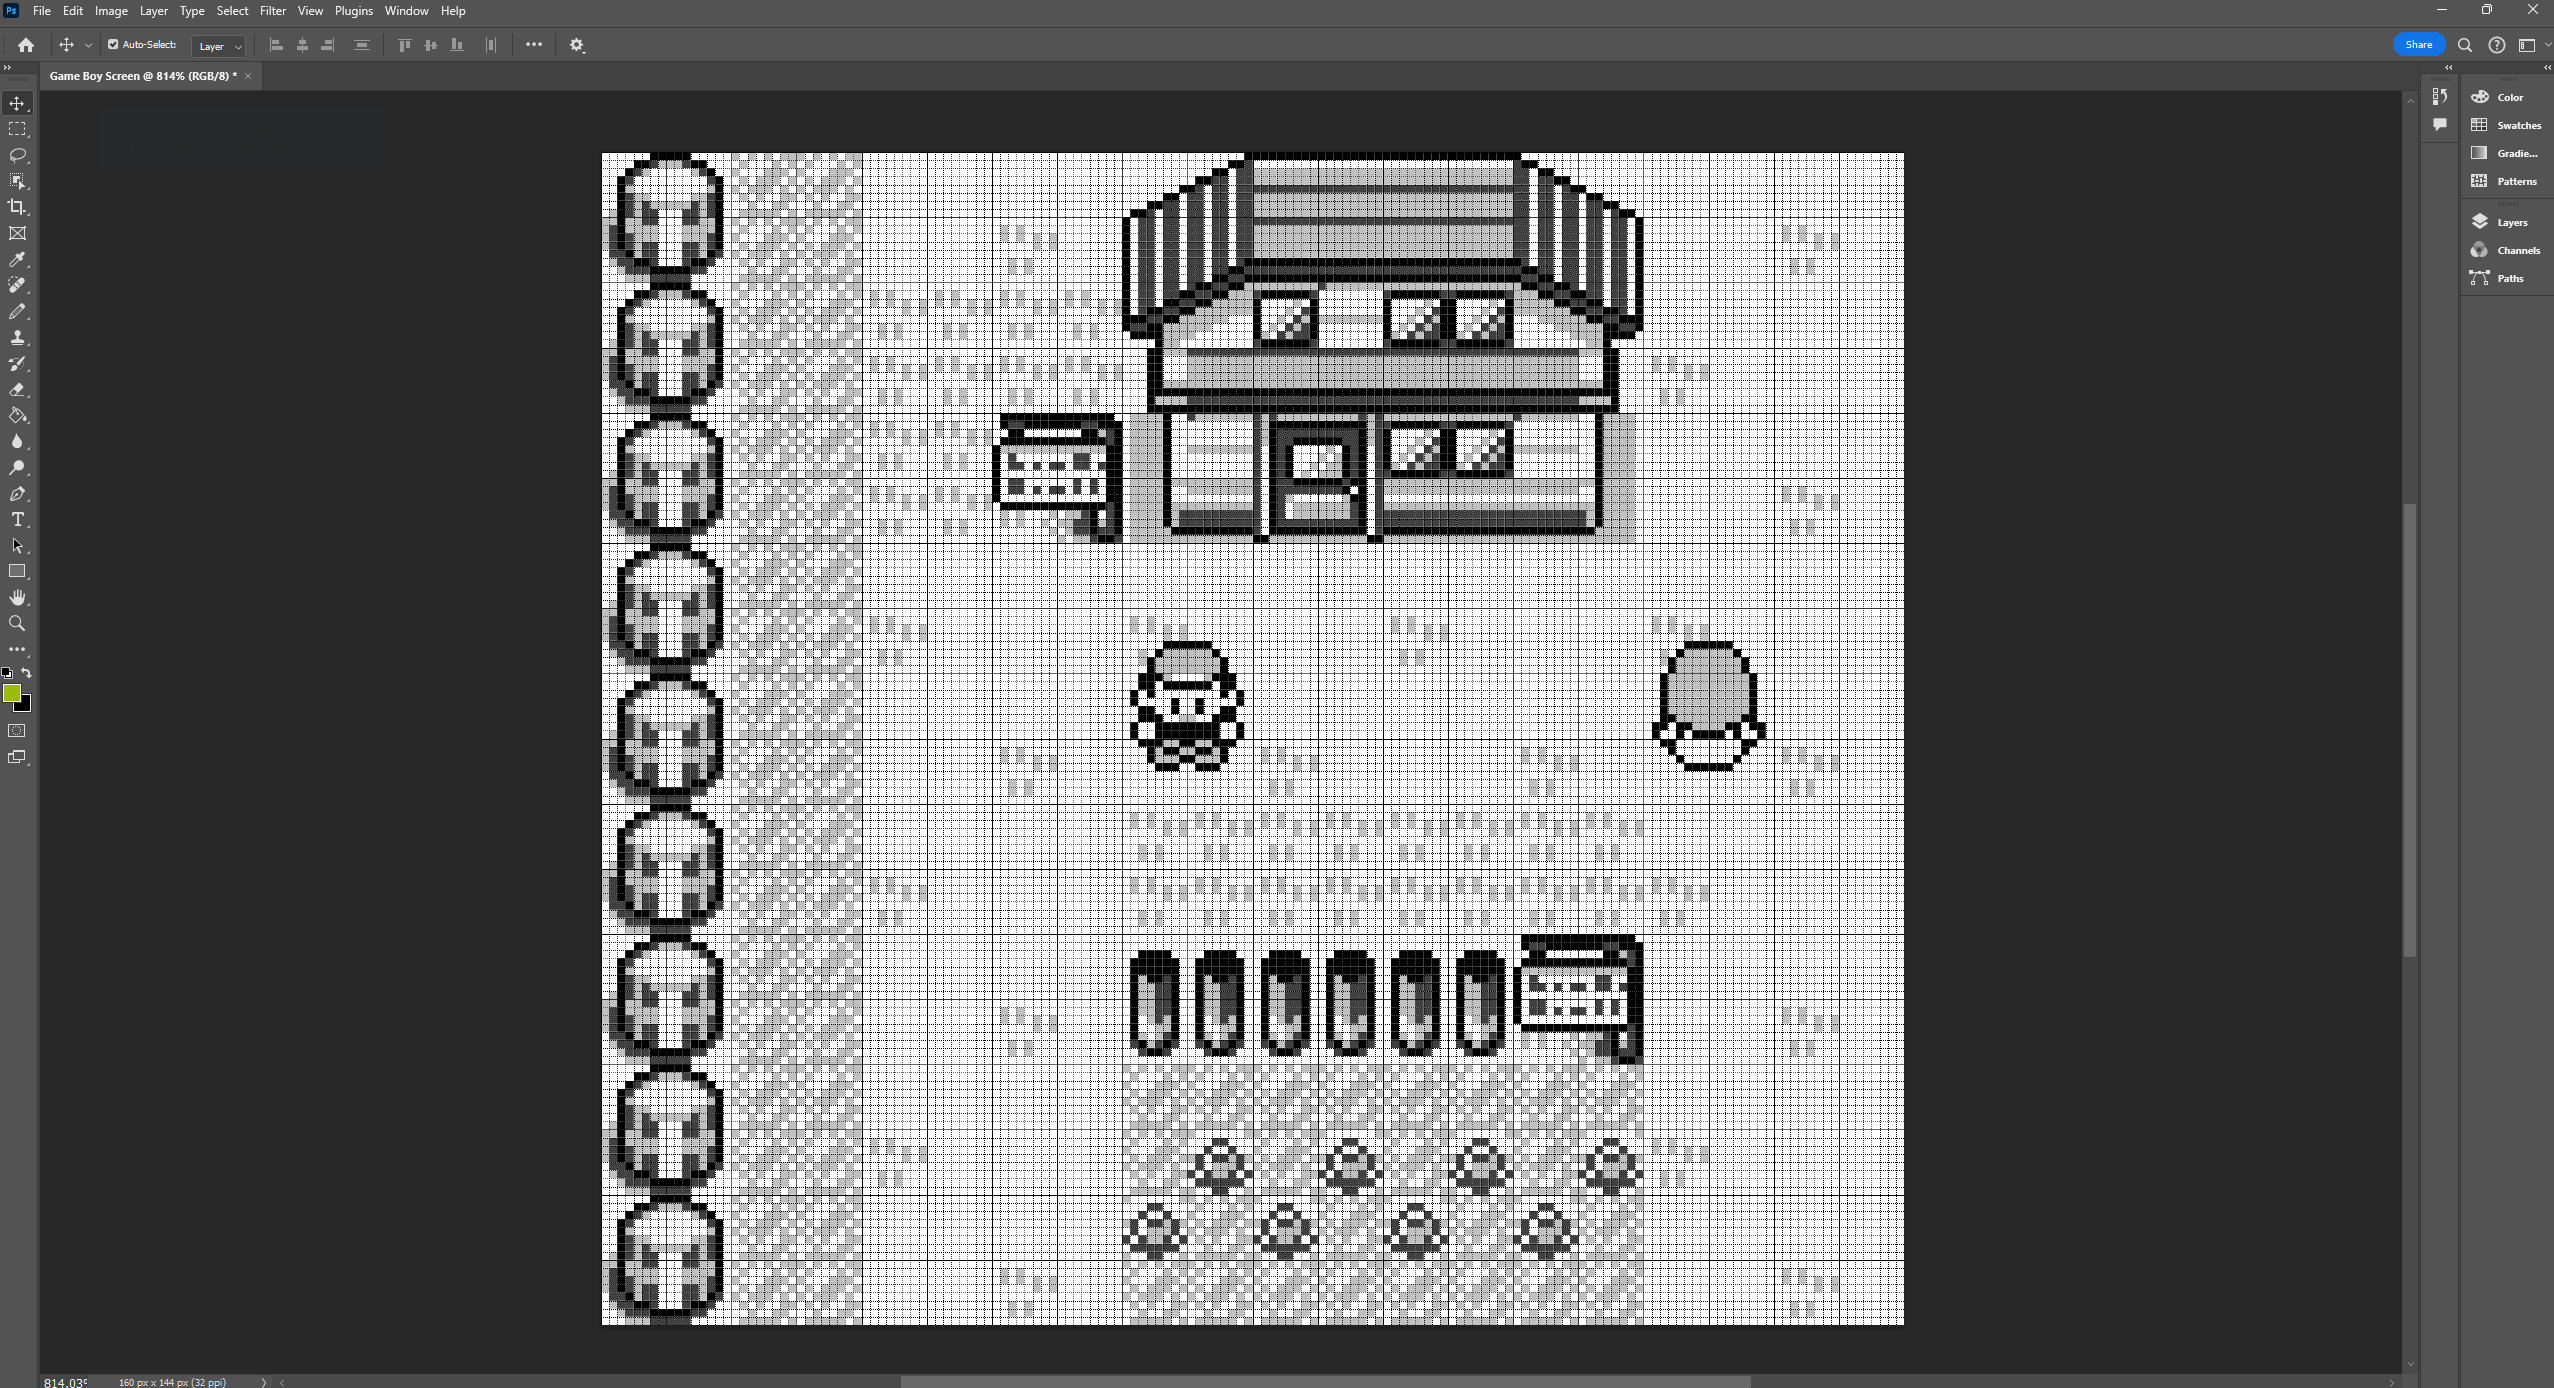
Before: The screenshot loaded in Photoshop with grid overlay applied.
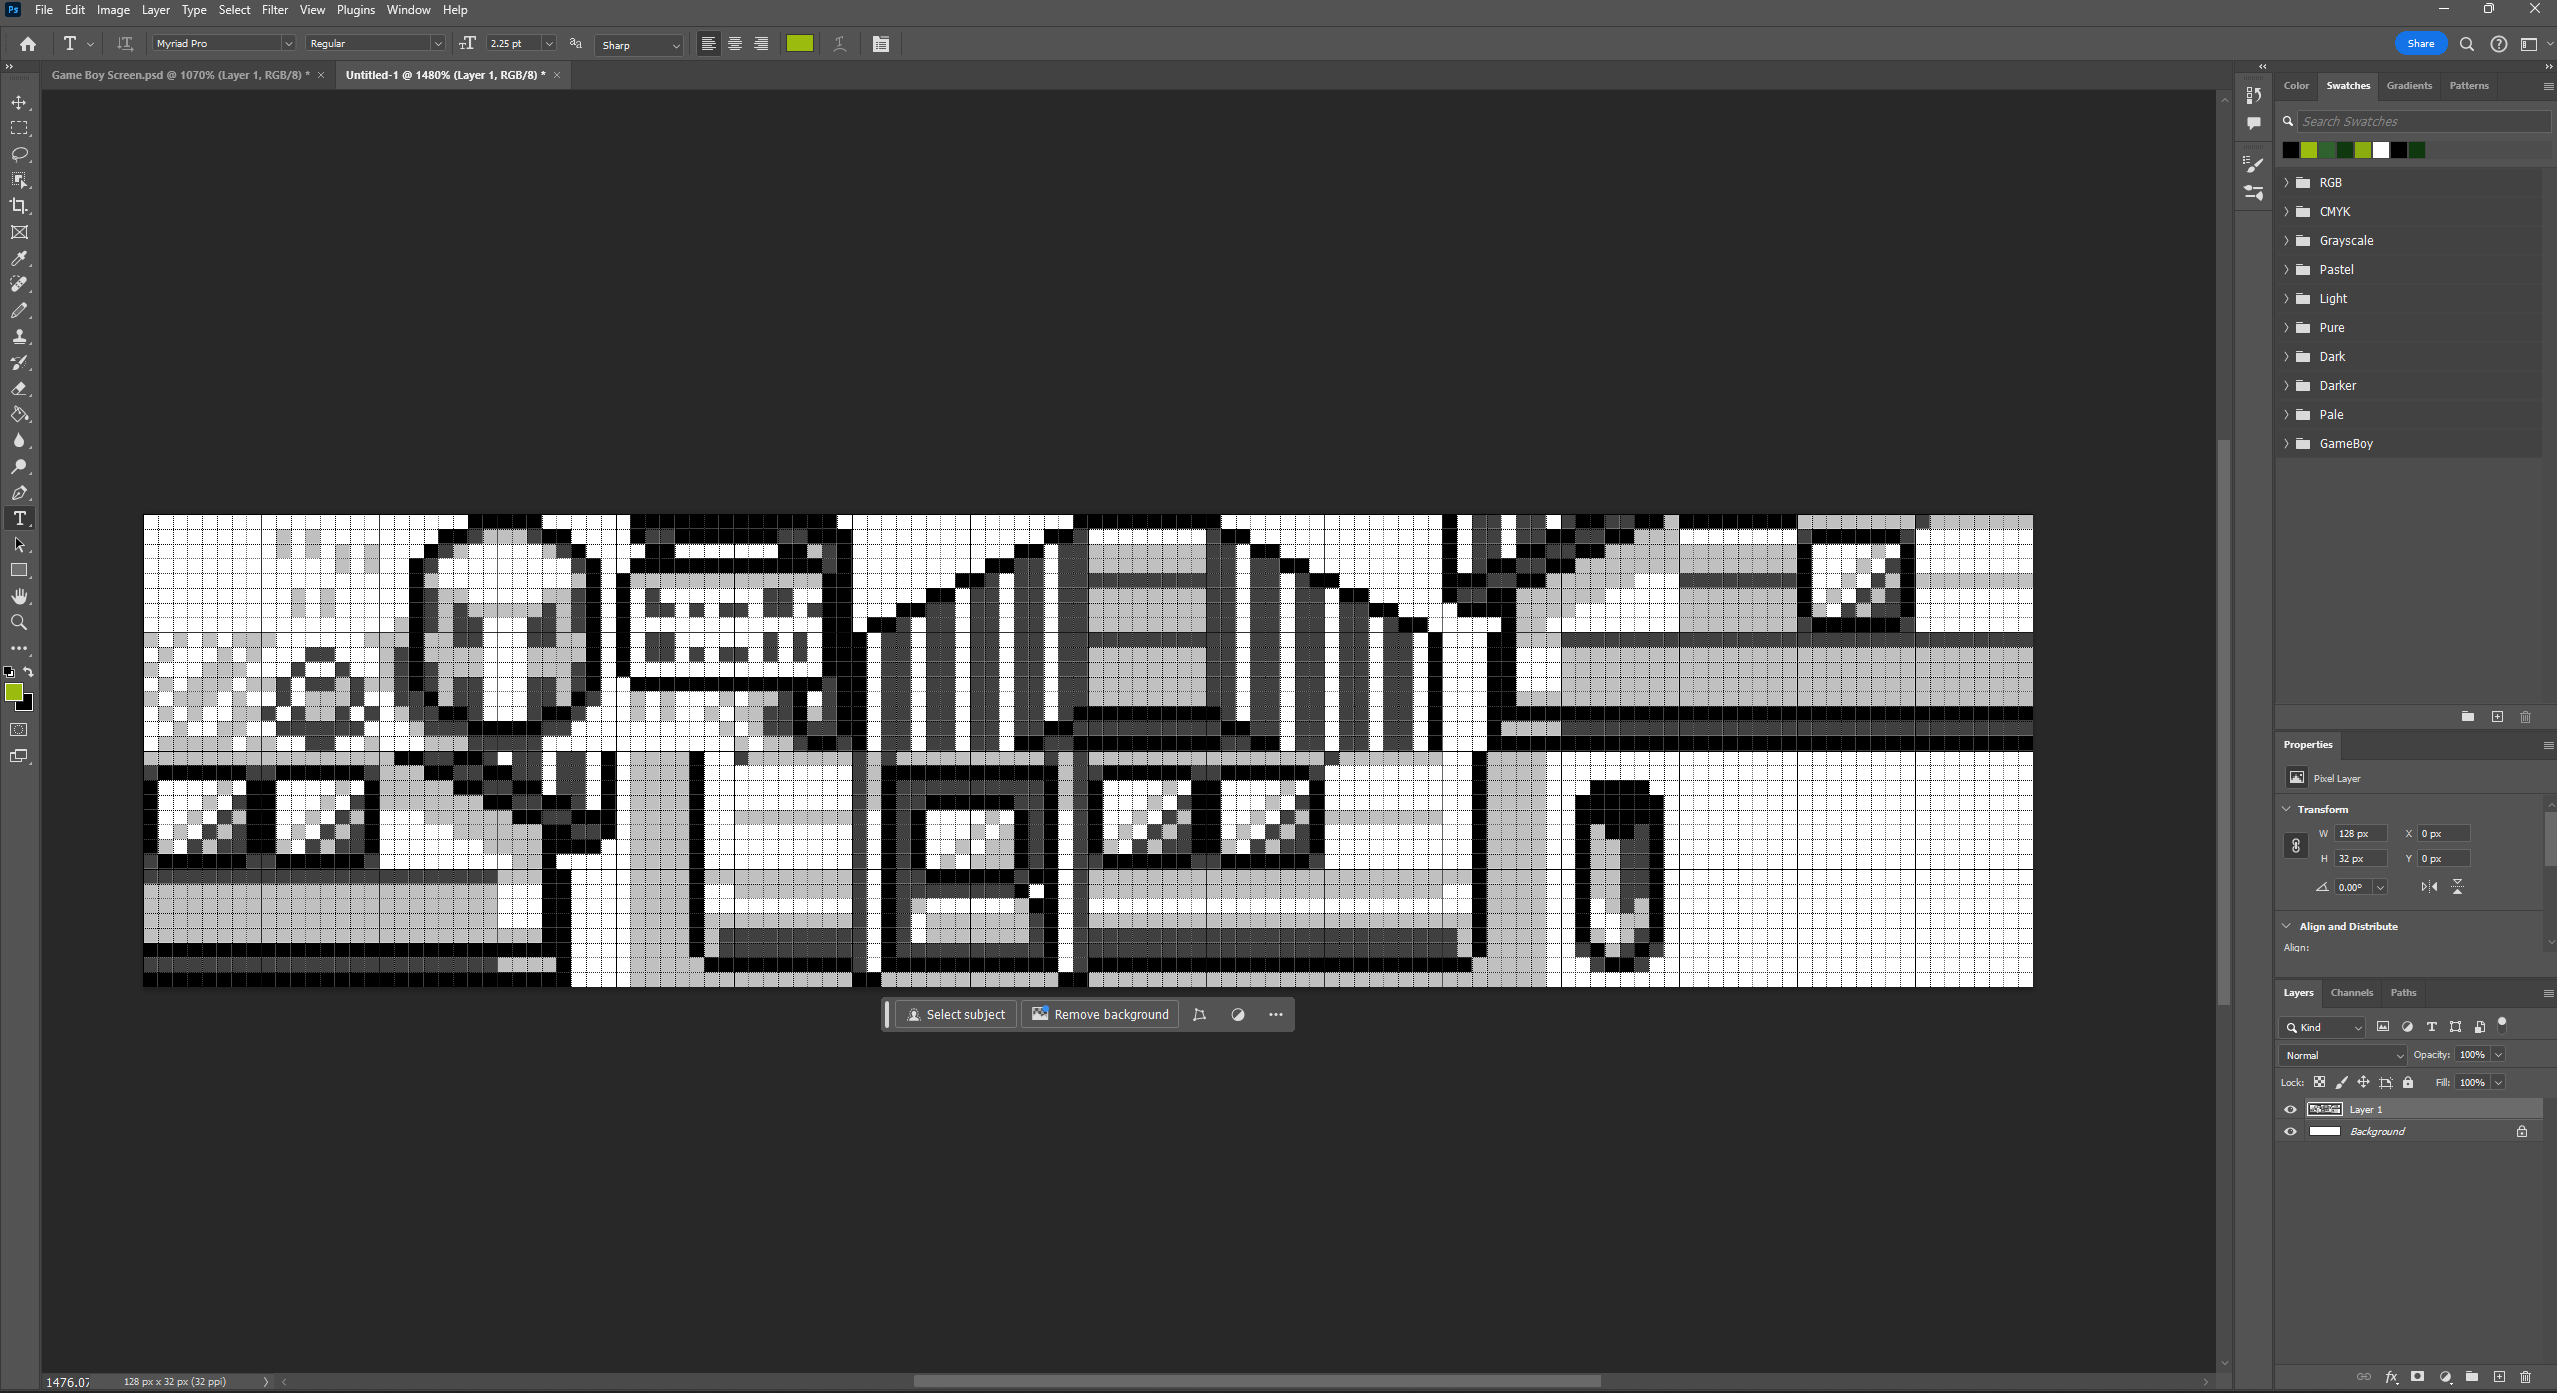
After: A condensed tileset containing (mostly) unique tiles from the original. I noticed later there are a few duplicate tiles here. Also, a reminder that I’ve left out any non-background tiles, like NPCs, for now.
Once the tileset was ready, I exported it as a PNG. Here are the settings I used:
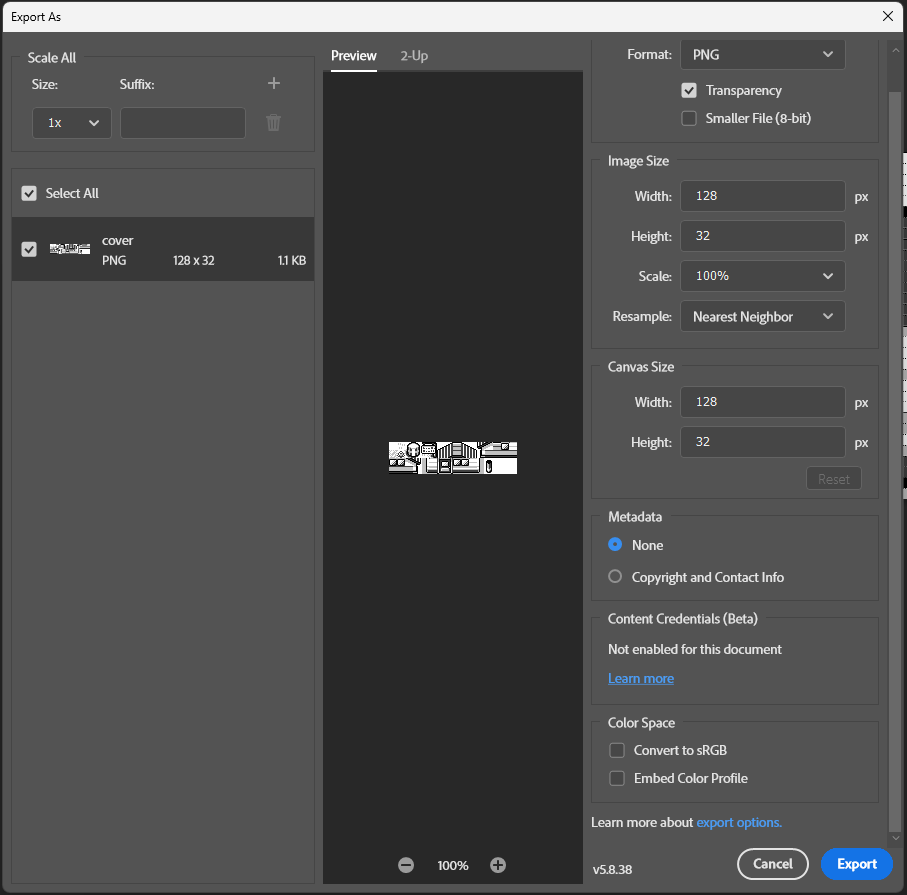
PNG export settings. Note that ‘Convert to sRGB’ and ‘Embed Color Profile’ are unchecked
Finally, as the Game Boy doesn’t know what a PNG is, I need to convert this image into a format that I can work with. Luckily, the RGBDS toolchain has a tool called rgbgfx that can convert images into a format that can be used by the assembler. I ran the following command to convert the PNG to a binary file:
rgbgfx -o background.2bpp background.png
That was super easy! Now I have a binary file that I can work on loading these tiles into VRAM.
Step 3: Setup the Game
I’ve worked with tiles before, so I’m going to just reuse code. I think the only thing to call out here is that I’m using INCBIN to include the binary file I created earlier. Everything else is pretty similar to other projects I’ve talked about.
INCLUDE "hardware.inc"

SECTION "Header", ROM0[$100]

    jp EntryPoint

    ds $150 - @, 0 ; Make room for the header

EntryPoint:
    ; Shut down audio circuitry
    ld a, 0
    ld [rNR52], a

    ; Wait for VBlank to turn the LCD off safely
WaitVBlank:
    ld a, [rLY]
    cp 144
    jp c, WaitVBlank

    ; Turn the LCD off
    ld a, 0
    ld [rLCDC], a

    ; Copy the tile data
    ld de, BackgroundTileData
    ld hl, $9000 ; Starting address in VRAM for tile data
    ld bc, BackgroundTileDataEnd - BackgroundTileData
CopyTiles:
    ld a, [de]
    ld [hli], a
    inc de
    dec bc
    ld a, b
    or a, c
    jp nz, CopyTiles

    ; Turn the LCD on
    ld a, LCDCF_ON | LCDCF_BGON
    ld [rLCDC], a

    ; Set background palette
    ld a, %11100100
    ld [rBGP], a

Done:
    jp Done

; Include the background tile data
BackgroundTileData: INCBIN "background.2bpp"
BackgroundTileDataEnd:
Time to fire up Emulicious and take a look at the Tile Viewer!
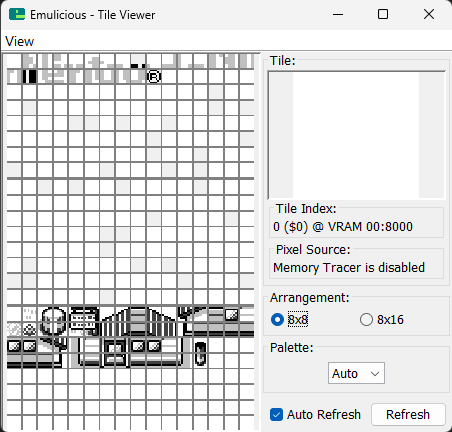
Good news, it looks like everything is here!
To Be Continued…
Seeing all the tiles loaded into VRAM feels like a great start, so I’m going to stop here for now. Below, I’ll include a link to the source for this project so far, which includes a Makefile so you can compile it yourself.
This has already been super fun, so I can’t wait to build the actual tilemap next time!
One More Thing…
When I run the ROM, I don’t get a blank screen like I was expecting, but I can actually see some of the tiles I loaded. I’m pretty sure this is happening because the tilemap memory isn’t cleared after the Nintendo logo displays on startup. Pretty cool!
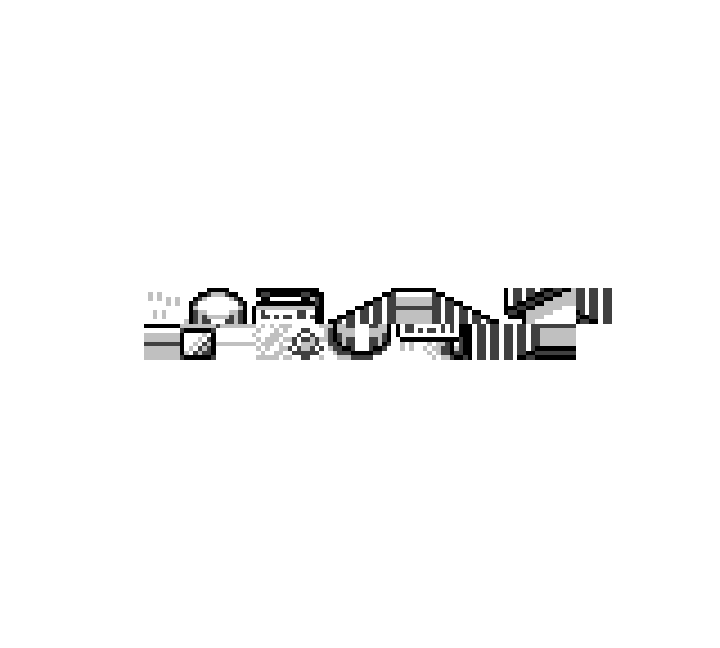
This is what you’ll see if you boot up the ROM in the current state.
Source Code
You can find the source code for this project on GitHub: https://github.com/bradyaanderson/gb-examples/tree/main/graphics/tilemap-re-part-1